


How to Start Using Retinol Safely: A Guide for Beginners
I remember staring at the bottle of retinol in my bathroom for the first time. I was terrified to open it. I had read so many horror stories online about “retinol burn” and peeling skin. I didn’t want to ruin my face in the pursuit of better skin. If you feel that same hesitation, you are not alone.
Retinol is powerful stuff. The global market for this ingredient hit $1.39 billion in 2023 because it works. But I learned the hard way that jumping in without a plan is a mistake. You need a strategy.
I wrote this guide to give you the exact steps I wish I had when I started. We will cover how to start using retinol safely, the specific schedule you should follow, and the one mistake that causes the most irritation. Let’s get your routine sorted.
What is Retinol and How Does It Work?
Retinol is simply a form of Vitamin A. It belongs to a family of ingredients called retinoids. When I first researched this, I found the chemistry confusing. Here is the simple version.
Retinol does not work the second it touches your face. It has to convert within your skin. It changes into retinaldehyde, and then finally into retinoic acid. That final form is what communicates with your skin cells. It tells them to behave like younger cells.
Because it takes time to convert, retinol is generally gentler than prescription creams like Tretinoin. This makes it the perfect starting point for beginners. It speeds up skin cell turnover. This helps push dead cells off the surface and replaces them with fresh ones.


Benefits of Adding Retinol to Your Routine
Why go through the trouble? I asked myself this during the first few weeks. The data convinced me to stick with it.
It Boosts Collagen Production
As we get older, our collagen slows down. This leads to wrinkles. According to the National Institutes of Health (NIH), consistent use of retinoids stops collagen breakdown. It also kickstarts new production.
It Improves Texture and Fine Lines
I looked at a study from the University of Michigan. They found that using 0.4% retinol improved fine wrinkles after 24 weeks. That is about six months. You have to be patient. I noticed my skin felt smoother around the three-month mark. The rough patches vanished, and my makeup sat better on my face.
How to Choose the Right Percentage
This is where most people fail. They buy the strongest product they can find. Please do not do that.
For Sensitive Skin (0.01% to 0.03%)
If your skin turns red easily, start here. I recommend concentrations between 0.01% and 0.03%. It sounds low, but it is effective. You get the benefits without the anger. It helps fix your skin barrier while fighting aging.
For Normal Skin (0.1% to 0.3%)
If your skin is pretty tough, you can start in the 0.1% to 0.3% range. This is standard for drugstore brands. It is strong enough to work on texture but mild enough for a beginner.
Steps to Apply Retinol for the First Time
I have tested different application methods over the years. This specific routine is the safest way to avoid irritation.
Step 1: The Dry Skin Rule
Never apply retinol to damp skin. I cannot stress this enough. Water acts like a conductor. It pulls the retinol deeper into your skin faster than it can handle. That causes the burn.
Wash your face, pat it dry, and then wait. I usually brush my teeth or fold laundry for 10 to 20 minutes. Your skin must be bone dry.
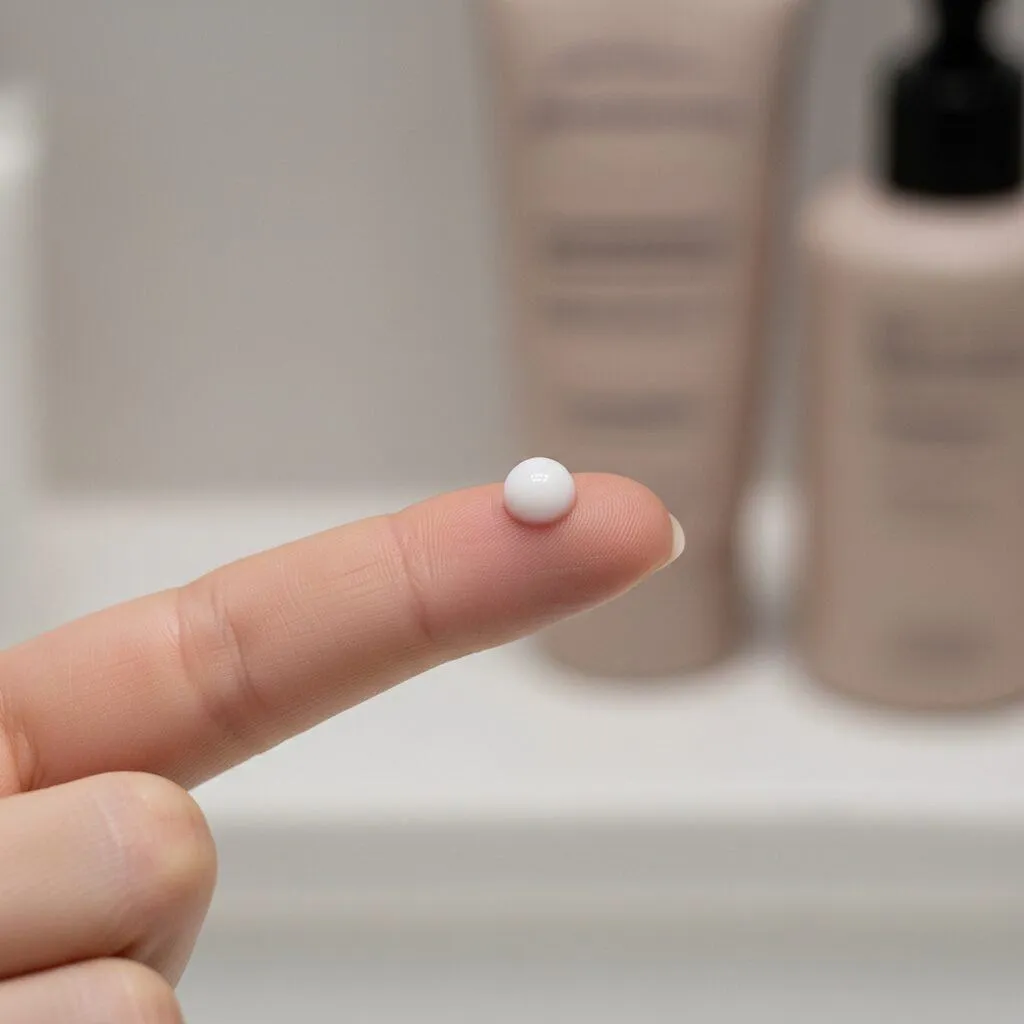
Step 2: The Amount Matters
You might read “use a pea-sized amount” and wonder what that means. I measured it. You need a dot about 5mm wide. That is the size of a small green pea or a coffee bean.
Do not use more. Using more product will not give you faster results. It will only give you redness.
Step 3: The Five-Dot Method
Rubbing the cream between your hands wastes product. I use the five-dot method to ensure even coverage:
- One dot on the forehead.
- One dot on the nose.
- One dot on each cheek.
- One dot on the chin.
Connect the dots gently. Avoid your eyelids and the corners of your mouth. Those areas are too sensitive.
Step 4: The Sandwich Method
If you are nervous, try the “Sandwich Method.” I used this for the first two months. It works like this:
- Apply a thin layer of moisturizer.
- Wait for it to dry.
- Apply your retinol.
- Apply another layer of moisturizer on top.
This creates a buffer. It slows down absorption and keeps your skin happy.
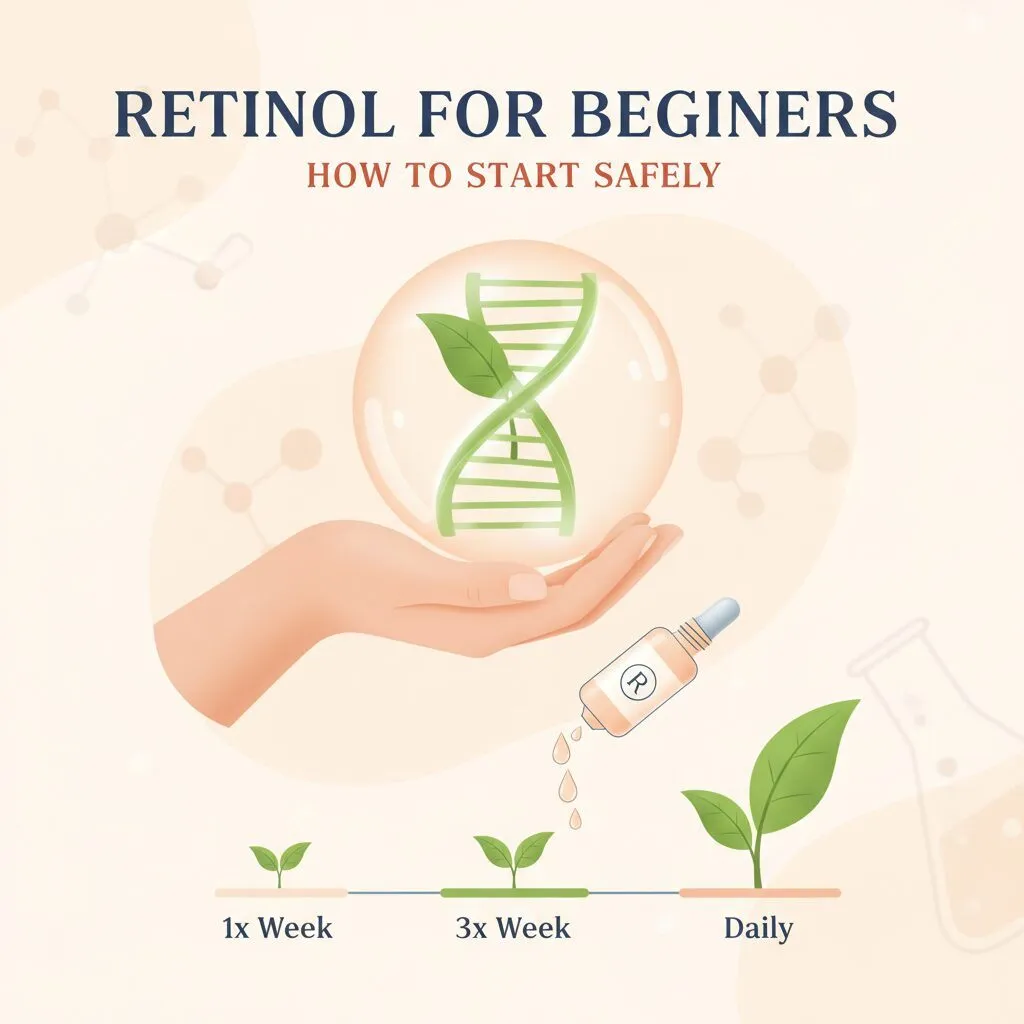
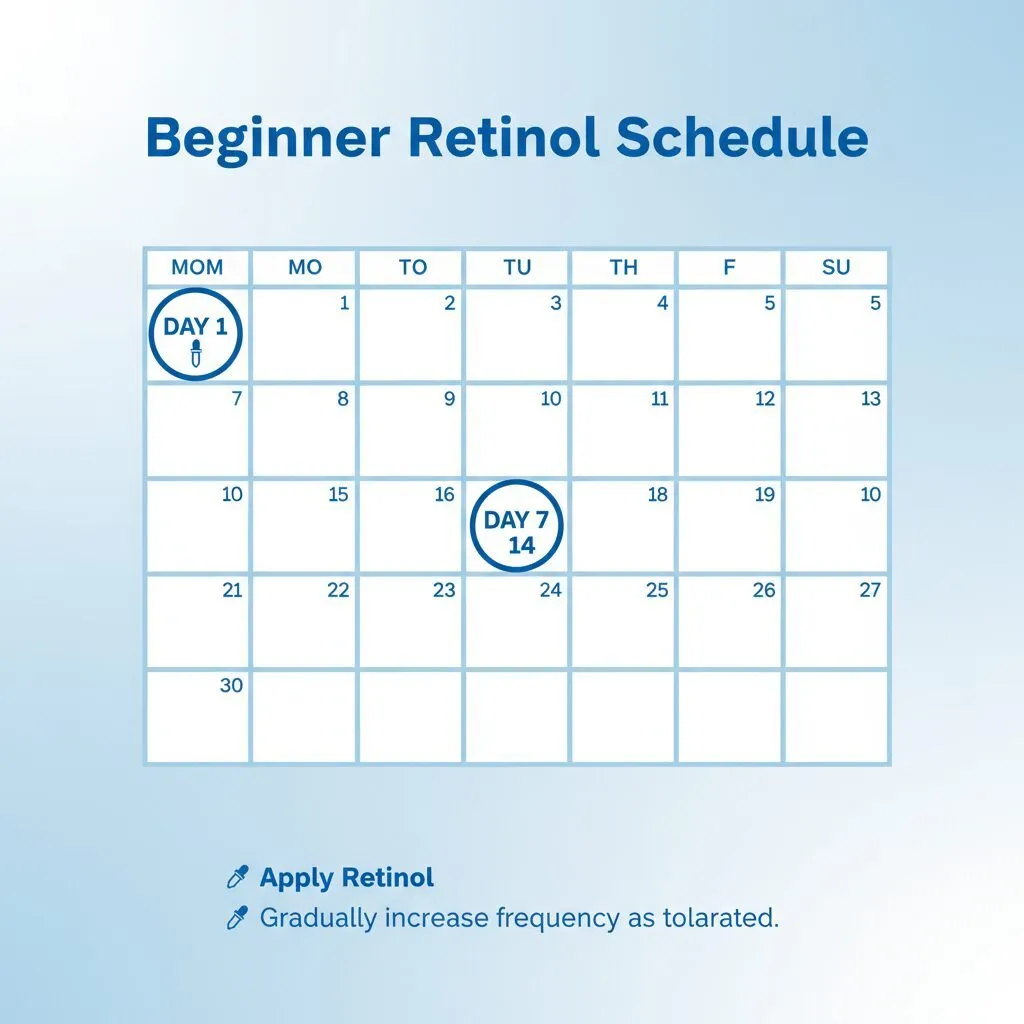
The 30-Day Schedule for Beginners
You cannot use retinol every night when you start. Your skin needs a period called “retinization.” It has to learn how to handle the Vitamin A. Here is the literal schedule I tell my friends to follow.
- Week 1: Apply it one night only. I pick Wednesday. Watch your skin for the next 6 days.
- Week 2: Apply it two nights. I do Monday and Friday. This gives your skin a break in between.
- Week 3: Apply it three nights. Try Monday, Wednesday, and Friday.
- Week 4: Try every other night.
If your face stings or turns red at any point, stop increasing the frequency. Go back to the previous week’s schedule. There is no rush.
Ingredients to Avoid While Using Retinol
When you start this journey, you need to simplify everything else. Some ingredients fight with retinol.
Pause the Exfoliants
Stop using AHAs (like Glycolic Acid) and BHAs (like Salicylic Acid). Retinol speeds up cell turnover. If you add chemical exfoliants on top of that, you will strip your skin barrier. I made this mistake once. My face felt raw for a week. Give up the scrubs for the first month.
Separate Your Vitamin C
I love Vitamin C, but I don’t use it with retinol. Vitamin C needs a low pH to work. Retinol works best at a neutral pH. Using them together can make both less effective and cause irritation. I use Vitamin C in the morning and retinol at night.
Side Effects and How to Manage Them
Even if you do everything right, you might see some changes. It is important to know what is normal and what is dangerous.
Purging vs. Reaction
You might get some acne when you start. We call this “purging.” Retinol pushes clogs to the surface. These breakouts usually happen where you normally get pimples. They heal faster than normal.
A reaction is different. If you see rash-like bumps, hives, or swelling, that is not purging. That is an allergy. Stop using the product immediately.
Special Advice for Skin of Color
If you have darker skin, you need to be extra careful with inflammation. Irritation can lead to dark spots known as Post-Inflammatory Hyperpigmentation (PIH). I have seen this happen to friends who rushed the process.
For melanated skin, slow and steady is the rule. Use the sandwich method. Stick to the low percentage. The goal is to avoid redness at all costs to prevent those dark spots.
When Will You See Results?
I want to manage your expectations. Retinol is a marathon, not a sprint. The American Academy of Dermatology suggests it takes time to see real changes.
Weeks 1-4: You might feel dry. You might peel a little. This is the adjustment phase.
Weeks 8-12: You should start seeing smoother texture. Acne breakouts might decrease.
Month 6: This is when the magic happens. Fine lines start to soften. Dark spots begin to fade.
A Final Warning on Sun Protection
I cannot end this guide without mentioning sunscreen. Retinol thins the outer layer of dead skin cells. This leaves your fresh, new skin vulnerable to the sun.
If you use retinol at night but skip sunscreen in the morning, you are doing more harm than good. You must use SPF 30 or higher every single day. Even if it is cloudy. Even if you stay indoors near a window.
Starting retinol was the best decision I made for my skin. It just requires patience. Start slow, keep your skin dry, and wear your sunscreen. You will thank yourself in six months.