


Natural Carrot Soap Recipe
Although I usually grow carrots directly in the garden, this year I’ve tried growing them in containers. They’re about 18 inches tall, so that will exclude the carrot root fly. They are quite densely planted inside, and what I’ve been doing is just thinning some of the baby carrots out so that the other ones have a bit more space to grow. But what can you do with this many baby carrots? Of course, you can eat them, but I have something else in mind.
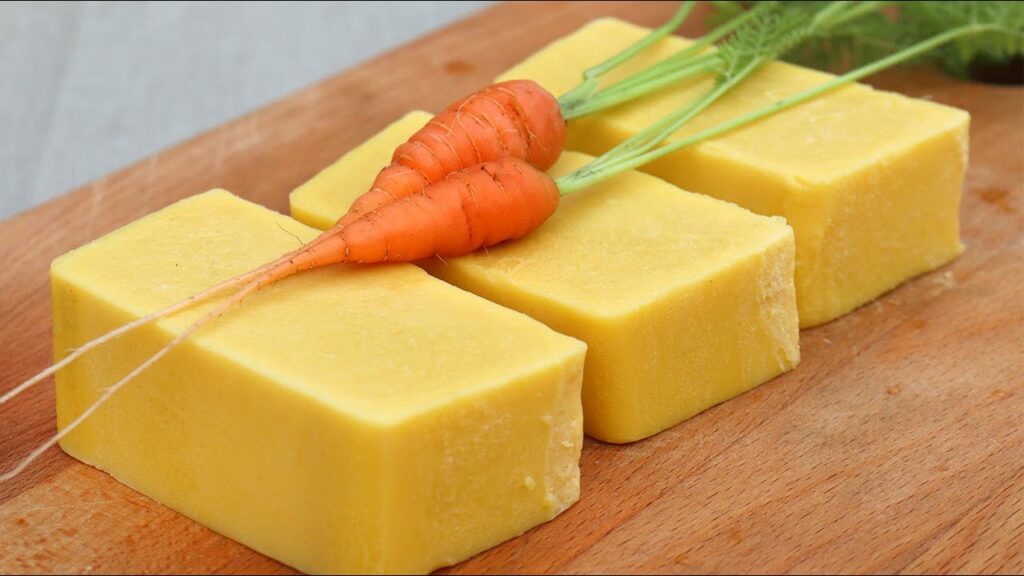
When you’re thinking about natural skincare and making handmade soap, carrots might be one of the last ingredients that you might think to use. But in fact, they actually create a really lovely yellow soap. It is completely natural, it holds its color really well, and it matches really well with citrusy essential oils like Mei Chang, which we’re going to use in this recipe. I’m Tanya; I’m a soap maker and gardener, and I’m going to take you through how you can make your own handmade carrot soap today.
Now, if you’ve never made handmade soap before, I encourage you to look into the Natural Soap Making for Beginners series. That will take you through the ingredients we’ll be using, equipment and safety, basic recipes, and the complete soap making process.
Equipment and Ingredients
Before we start making our own carrot soap, I want to take you through the equipment and ingredients that we have here in front of us. To make handmade soap, you need some basic equipment.
Essential Equipment
You’ll need a heat source, like a stove or hob, and a stainless steel pan. You will need various heat-proof jugs to put other ingredients in, and then you also need a stick blender, also called an immersion blender. You must have eye protection, gloves, a stainless steel spoon, a little mini strainer or sieve, and a stirring implement. You also need something to take the temperature with; a digital temperature gun works well. You also need to measure all of your ingredients with a digital kitchen scale. You can’t use volume measurements when you’re making soap; it has to be very accurate. The last piece of equipment that you need is a soap mold. Now, you can use custom soap molds that are made out of silicone or wood or various other materials, but I like to just use a simple takeaway container lined with baking paper. I line it with flaps so that you can lever the soap out afterwards.
Ingredients
To make carrot soap, you obviously need carrots. You can use your own homegrown carrots—these are baby carrots that I have from home—or you can also use full-grown carrots from your garden, or you can just purchase one from the shop or from a farmers’ market. You need to process it into a puree. The way that I’ve done that is to chop a carrot, peel it first, boil it, and then use the immersion blender to puree it into a smooth texture.
In the stainless steel pan, there are the solid oils; this is coconut oil and shea butter. We’re also going to be using some liquid oils, which are olive oil and castor oil. To make the lye solution, you’ll need caustic soda, also called sodium hydroxide, and you also need water, preferably distilled water. You could also use the reserved carrot water from making the carrot puree. An optional ingredient is essential oil. I have Mei Chang essential oil here because it’s quite a sunny and citrusy fragrance that goes with the carrot color. It’s completely for scent, totally optional, and you can use other types of essential oils if you prefer a different scent.
The Soap Making Process
Safety and the Lye Solution
The first step is to get suited and booted, basically putting on all of our safety gear: gloves to protect the skin on our hands and goggles to protect our eyes. It is not really stylish, but safety comes first when you’re dealing with caustic soda. You need to be careful but not afraid; it’s just a substance that we use to make handmade soap, and if you treat it respectfully, there’s nothing to worry about. It is better to be mixing the lye solution outdoors than indoors because it does put off some vapors—some steam that isn’t very pleasant if you breathe it in. What you’ll need to do first is to pour the lye crystals into the water and then give it a good stir.
Next, you want to add the carrot puree to this warm lye solution. Be really careful when you’re scooping it in and then give it a really good stir. This carrot lye solution is quite hot. We’re making cold process soap, so we need to cool it down. I have a basin here with some cool water in it; I’m just going to set this aside and allow it to cool down a bit. We’re aiming to get the lye solution down to about 100 degrees Fahrenheit.
Melting and Preparing the Oils
In the meantime, we need to melt the solid oils on the hob. While the oils are melting, make sure to use your spatula to move them around in the pan. That increases the surface area and speeds up the melting. Since we’re making cold process soap, we’re trying to keep temperatures low; we want this just melted, not really hot. Once the oils are melted, take them off the heat. Next, we’re going to add the liquid oils straight into the pan. Castor oil is really sticky, so you want to give it a good stir, pour it in, and use your spatula to get every last drop out.
Now, this is when the digital thermometer comes into play. Take the temperature; right now it’s 128 degrees Fahrenheit. I need to get it down to about 100 degrees, so I can either leave it to cool in the open air or I can set it in a basin of water. As far as temperatures go, we do need to have the lye solution and the oils relatively close together—within about 10 degrees of one another—and they do need to be at 100 degrees Fahrenheit or slightly lower.
Combining the Ingredients
The reason that we keep the temperature quite low is that when you’re working with purees, they can cause soap to heat up and all kinds of weird things can happen. It is better to stay on the safe side and keep it down quite low. The little sieve that we have is really important now because we’re going to pour the lye water with the carrot into the oils. This will catch any undissolved lye, if there is any, and also chunks of carrot, because we don’t really want any missed chunks of carrots to be in our soap.
When stick blending, I always advise to keep a hold of the handle of the pan and to slide the stick blender in at an angle. That will help to minimize the air going into your soap, which is really important for small batches like this. Slide it in and, at first, just use it like a spoon to stir it around and incorporate the lye solution and the oils. Hang onto that pan handle, bring the stick blender to the center of the pan, and hold it down at the bottom. Don’t move it right now, but just pulse a couple of times. Now stir and repeat.
You want to keep doing this, repeating the stirring and the pulsing, until it reaches trace. What will happen with the soap batter initially is that it will start to go slightly opaque and then it will start thickening up. You want it to get as thick as a thin, warm custard. Imagine the dribbles of warm custard on the surface; that’s what your soap should be doing as well.
Adding Scent and Molding
If you wanted to leave your soap unscented, you could pour it into the mold right now. Alternatively, you can also add scents. I’m going to be using an essential oil; this is a natural fragrance called Mei Chang. This is one of the few citrus essential oils that will really last in handmade soap. A lot of oils like sweet orange or lemon just dissipate and disappear, which is actually really disappointing. I’m just going to put two teaspoons in and then give this a good stir. The soap batter will start to thicken up really quickly at this point, so you should also work quickly. Once the essential oil is completely incorporated, then you should pour it straight into the mold or molds.
Curing the Soap
With the soap in the mold, we have to wait. We need to wait at least 48 hours, if not longer. This is quite a wet recipe, so if you try to take the soap out before then, it can be quite wet and sticky. Give it a little bit more time; I would actually say wait a week or even possibly two weeks before popping it out and cutting it into bars. Once cut, you need to set it someplace where the bars are all spaced out to allow them to completely dry out.
As far as the sodium hydroxide content and whether or not it’s safe to use, that process is completely finished in 48 hours. That’s the important period; after you make soap, 48 hours later, saponification is complete. The curing process is mainly about drying the soap out. If you try to use wet soap before it’s fully cured, it just doesn’t last very long. You want nice hard bars to use as a gift or to sell to your customers.
This is a great way to use homegrown carrots. You can use carrots from the farmers’ market as well or from the shop. In any case, it’s a really fun way to naturally color handmade soap and also to make something quite unique to give as gifts or to use around the house. Although I’m a gardener, I’m also a soap maker, and I have a passion for using natural ingredients, especially when they create such a lovely color.