How to Grow Indigo Plants & Process It into Blue Dye
Nature’s colors are incredible. Indigo is one of the most beautiful, and the way that you extract this vibrant blue dye from simple green leaves is just magic. Let me show you how it’s done. I’m Tanya Anderson from Lovely Greens, and I’m an organic gardener and a natural soap maker, which is why this year I decided to add a lot more dye plants that I can use in soap recipes to the garden. Now I’ve got calendula growing, I’ve got madder root in a new patch, and this is my bed of Japanese indigo.
Indigo Uses and Varieties
Indigo is a natural dye plant that has a few uses. Now, it’s used to dye hair brown to black if you use it after henna, and a lot of people know it for that. You can also use it as a natural dye for wool, cloth, and other fibers, as well as wood. You can also use indigo as a natural blue soap colorant, and it gives shades of baby blue to denim blue. This is my first year in growing and extracting indigo, and I think that that shows that if you are a complete beginner, and especially if you have a little bit of gardening experience on your side, that it is completely attainable to grow and extract indigo your first year.
Now I also need to point out that I have decided to grow Japanese indigo. This is a variety called Kojyoko, which I sourced from a UK supplier, and I’m growing Japanese indigo because it is much better suited to cooler climates like here in Britain. If you’re in a cooler climate, say the northern US, Canada, parts of New Zealand, and South America, wherever you are, this might be an option for you as well, although there are tons of other types of indigo, and if you’re already growing indigo, yours might look a lot different from this. I’ve made this to help you in growing and processing your own Japanese indigo for natural dyeing and soap making, or simply if you just want to see how that process is done, because it is such a magical process of growing it from seed, nurturing the plants, and then eventually extracting that pigment from these leaves. It’s just unbelievable and exciting at times as well.
Growing, Harvesting, and Doing That Entire Process
In temperate climates, sow the seeds undercover, ideally in your home, around six to eight weeks before your last frost date. I sowed mine in early March, just barely covered them in potting mix, and kept it moist at all times. The seeds need two to four weeks to germinate, and I left them to grow together until the seedlings had two true leaves. At that point, I potted them into individual one-and-a-half-inch modules and grew them on in that tray until late May, when I planted them out into a bed in my Polycrub.
When I did plant it in here, they are about a foot apart, and the growing medium is a mixture of soil and compost, pretty equal mixtures of those, and it was heavily mulched with even more compost. They love nutrient-rich soil and they also need moisture to thrive, so it needs to be moist soil. I’m in here hand watering from time to time, but I also have automatic ollas planted here in the soil, and they are a reservoir of water that the roots can tap into. Since I have planted the Japanese indigo in here, I’ve just kept on top of the watering, and the sunlight in here is indirect, which is perfect for them, and they get about 12 hours of sun.
July and August are the Best Months to be Harvesting Japanese Indigo
You can take several harvests, maybe a dozen harvests or more, of indigo from your plants in the growing season. You start that when you know that when you cut these stems, you can leave about three inches for it to regrow, and there’s a couple of leaves left over as well. You just take a bunch in your hand, snip the stems with a pair of sharp snips or sharp secateurs, and then you can take out a bunch at a time. It’s the leaves that have the dye in them, not the stems, but you can process all of it together just out of ease. I have seen some people strip the leaves off, but that is just an extra step that is not necessary. Also, I need to point out that this indigo that I’ve just cut is flowering, and that means that the dye potential has decreased by about 25 percent. There’s still dye in there, but there’s less than if you hadn’t let the plant flower.
Fermenting and Extracting the Pigment
What I did was I just cut the indigo, put it into the bucket that I was planning on fermenting it in, but went through it as well just to make sure there was nothing living in it. Next, I put clean bricks on top just to press the leaves down, and then I filled up that tub with clean water. I used a clear tub here so that I can see what’s going on in the next steps. Next, I put it in the Polycrub where it was nice and warm, put the lid on, and let it sit. After three days, it had fermented and had become this beautiful blue and metallic liquid, and it was at this point that I took the bricks out and then squeezed all of that beautiful mermaid liquid from the leaves. The leaves I put into another tub and then I took that out to the compost pile. I didn’t want any leaves left over in that liquid, so I strained it through a metal sieve back and forth a few times just to catch any little bits.
Aeration is a Really Important Part of Extracting Indigo
Aeration is a really important part of extracting indigo, and so not only did I pour the liquid through the sieve a few times, but then I started pouring the liquid back and forth between two buckets, and I poured it again and again 20 times. Next, I needed to increase the pH of the liquid, so I added three teaspoons of calcium hydroxide and then I stirred that in using a bamboo stick, and that again adds a lot more air and oxygen into that. That color is really starting to deepen now; you can see greens in there but also that vivid indigo blue. Then I’ve also checked the pH with a pH strip just to make sure that it is between pH 9 and 10, which is what we’re aiming for. If the pH hadn’t have been between 9 and 10, I would have added more calcium hydroxide, but it was fine, and so I just did a little bit more stirring and more pouring back and forth between the buckets. In fact, I poured 20 more times, and in that time the color deepened and became even more blue. The foam on top was just such an incredible color. Then I put the lid on and let it settle.
Let the Indigo Mixture Settle
You let the indigo mixture settle until the indigo is at the very bottom of the bucket and the liquid above is kind of a tea color. It took a couple of weeks for mine to do that, but after that, I siphoned that liquid off. Now, other sources have you pouring that liquid off, but I thought that that would disturb the indigo at the bottom a bit more, so the siphon worked really well. You can see that the siphon is above the indigo, so it’s really just taking that liquid above and leaving the indigo at the very bottom. Now, I didn’t want to take it all off because I didn’t want to disturb the indigo, so I got most of it off. There was also some crusty stuff at the top of the liquid, and I skimmed that off and put it into the tea-colored liquid as well. Now, that liquid I needed to get rid of, but it was too alkaline, and so I adjusted the pH with citric acid and then I took it out in the garden and poured it off.
The point of all of this settling is that I’m trying to get to that indigo at the very bottom, and then I’m going to dehydrate the water off eventually. So I used a smaller container, a pitcher this time, and I poured the rest of that indigo into the pitcher and then I topped it up with a bit more water, rinsing out that bucket. I didn’t want to lose any of that indigo, and then put the lid back on top and again it was a matter of letting that settle. Now again, it was another couple of weeks before that indigo settled to the bottom, and I repeated that process of siphoning that liquid off to get at the indigo at the bottom. Then I added more water just to rinse and dilute that liquid and let it settle again, and this time it took ages, another two to three weeks. As you can see, the liquid above isn’t tea-colored, it’s a bit green actually. I could have waited a bit longer, but I took that liquid off so that I could start dehydrating that indigo below. Japanese indigo, as I found, takes a long time to settle, but I’ve done my best to get every last bit that I can.
Dehydrate the Water Off
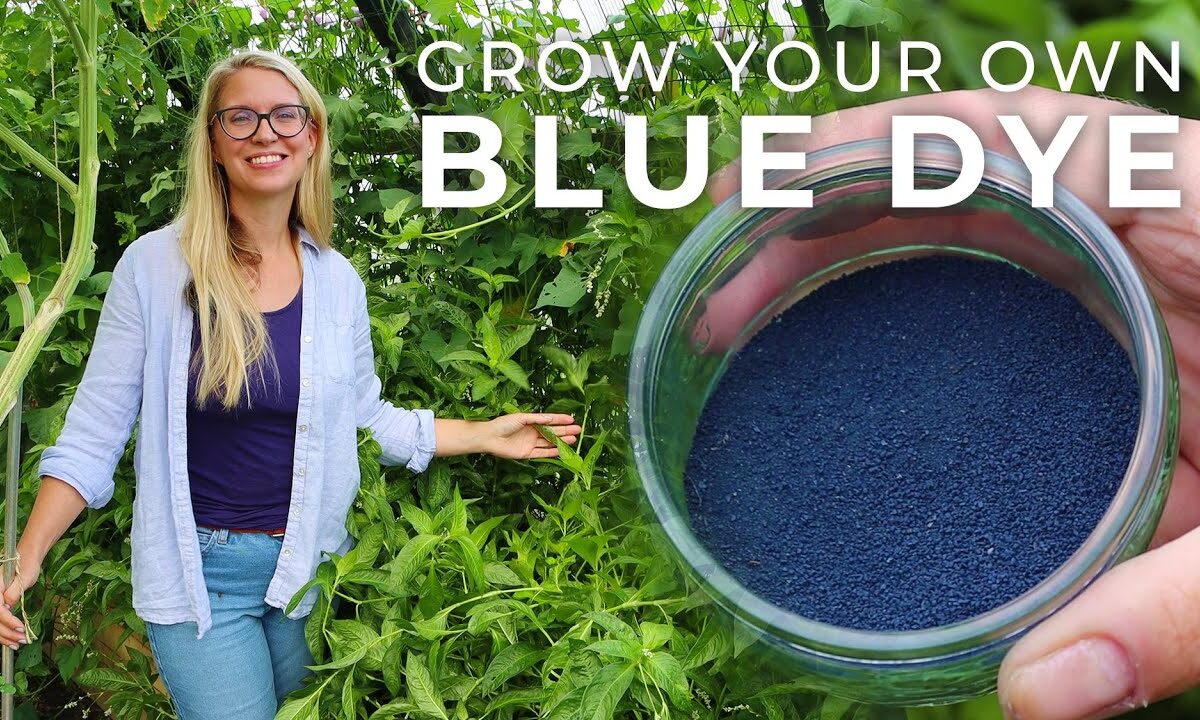
Now that last bit of liquid in the pitcher, I then poured it into a tray on some greaseproof paper in the greenhouse where it was nice and warm, scraped out that pitcher to get all the indigo out that I could, and now again it was a waiting game waiting for that water to evaporate. We’re now at the point where the indigo is completely dried up and it’s pulled away from the paper really well. So what I’m going to do next is I’m going to bundle it up in the same paper and then I’m going to roll it with a rolling pin just to break it up a little bit, and then I’m going to pass it through a sieve before storing it in a container in a dark place until I need it. The reason that I’m sieving it is because I’m going to be using this in soap making, so I need it really fine. Another thing to know is that indigo can have a really good color potential for up to five years, and then after five years it can start to lose that, so try to use your indigo up within that five-year period.
That beautiful blue indigo powder is stored away now, and this autumn I’ll be using it to make naturally blue indigo soap so you can see how I use it to create blues from a baby blue all the way to denim blue in natural soap. This journey has been incredible, growing indigo from seed to tiny little sprouts to beautiful leafy green plants in the Polycrub to extracting the blue pigment from these gorgeous green leaves. Being immersed in all of that from start to finish has really been an experience, and actually, it’s been jaw-droppingly beautiful at times seeing that turquoise and blue come from just the fermentation of the leaves. So if you are thinking about growing your own indigo and you want to use it in artisan crafts and soap making, I highly recommend it.
I also want to say a huge thank you to George at Bailiwick Blue; he’s where I bought the seeds from initially, and he has given me so much guidance on growing and processing indigo. If you’re in the UK or the Isle of Man or Europe, then get in touch with him if you need seeds; he’s got quite a few varieties of Japanese indigo, also the pigment powder. If you have any questions whatsoever about growing or processing indigo, if I don’t know it already I will find out and let you know.