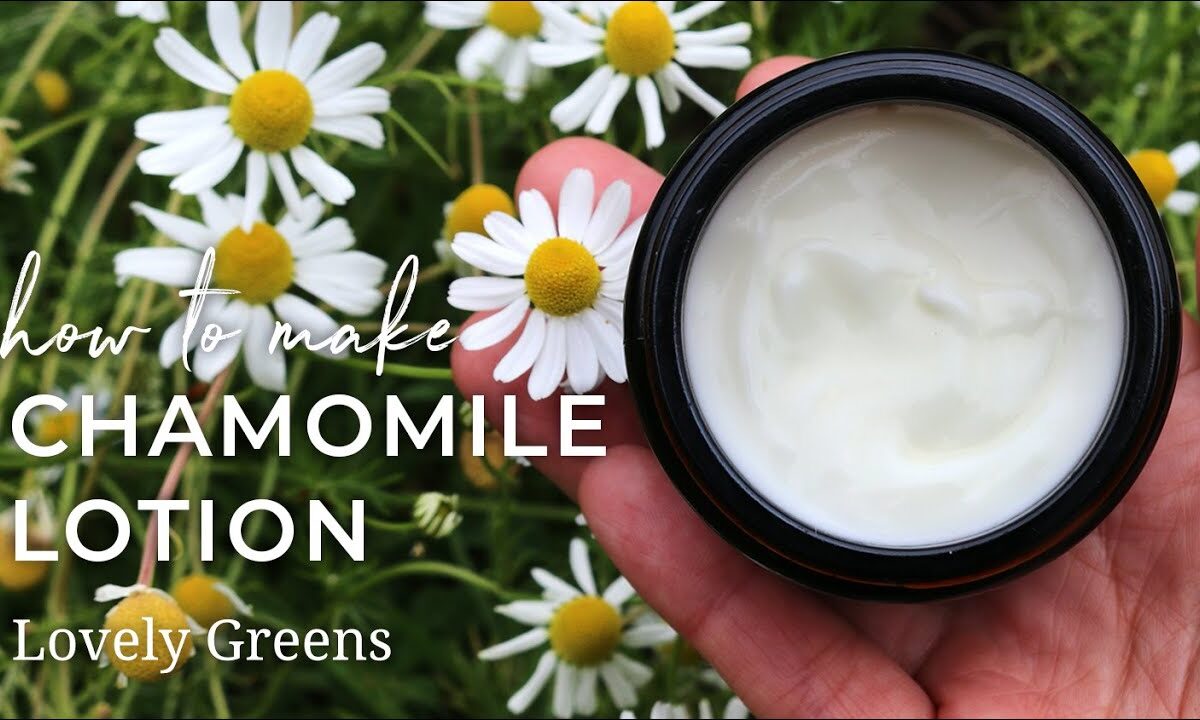
Make Homemade Chamomile Lotion (step-by-step from fresh flowers to natural skincare)
The Benefits of Chamomile for Skin
You’ve heard me speak to you before about Calendula and how great it is for your skin, but if there’s another flower that’s even better, it’s Chamomile, and in particular German Chamomile like I have here growing at home. It has properties that make it really soothing for skin and conditions like eczema and for inflammation, and you can use it in similar ways as Calendula as well. I’m Tanya from Lovely Greens, and I’m going to take you through how to pick, infuse, and use Chamomile to make lotion.
Identifying and Harvesting Chamomile
This is my little patch of Roman Chamomile, and I’ve just tucked it in here on the other side of the lemon balm, and you can see it has the same types of flowers as the German Chamomile. Now, in tea, it’s a little bit more bitter than German Chamomile, and you can see it’s very floppy even though it’s supposed to be the type used for lawns; you do have to keep it maintained. Now the German Chamomile, which I have over here, it’s coming to the end of its season, and you can see it’s really starting to yellow, and a lot of the flower heads that I haven’t picked have started to go to seed. I don’t actually sow this any longer; I just let it self-sow here on the ground. There’s often Chamomile that pops up here in the pathway, and then I transplant it and put it right back into the same place.
When you pick the flowers, you have to pick them, or you should rather pick them, when all the petals are fully open and there are no gaps in between the petals. That’s the most ideal period, but I would still pick this; that’s no problem. And if you don’t pick all of these flowers, they will go to seed, and eventually German Chamomile will wither and die down for the year, whereas the Roman Chamomile over here, you can see how lush and green that still is, and that’s because it’s a perennial.
Drying and Infusing Chamomile Flowers
You’ve now seen the Chamomile flowers that I have growing outside here in the home garden and also at the allotment, and you don’t really need that many plants to make your own infused oils—just a small patch. The German Chamomile is much better because you get a lot more of the flowers, but you can use the Roman Chamomile flowers as well. So what do we do now that we have a bowl full of fresh flowers? We need to dry them first, and my preferred method for drying herbs and flowers is a food dehydrator. I’ve dried this batch a bit earlier; it doesn’t take long. I dry at 40 degrees Celsius, and it takes about two to four hours, just depending on how many flowers I have drying at a time.
The reason that we dry the flowers first is that we’re going to infuse them into oil, and if you infuse fresh flowers into oil, they have a little bit of water—that moisture content in it—and that will seep into the oil as well. What that will do is cause the oil to go rancid, and we don’t want that because we want to make enough oil so that we can make a batch of lotion right now and also some Chamomile balms and salves and lotion to last us for up to a year. So make sure that you dry all of your flowers bone-dry.
Then the next thing that we need to do is fill up a glass about halfway with dried flowers and then pour a carrier oil over the top. My favorite is sweet almond oil, which I have here in a jug, but you can use any type of carrier oil; just make sure that it’s right for your skin, that you’re not going to be allergic to it, and that it has a light feeling and scent. Once you have it in the jar, you will seal it, give it a shake, then put this someplace that’s dim, not too warm, not too cool—so think like a kitchen cupboard—and then give it a shake whenever you can remember. Leave it there for two to eight weeks; the longer you can leave it, the better. That time will give the flowers a chance to infuse their volatile oils and the flavonoids into that carrier oil, and then at the end of that time, you would strain out the flowers, and what you’re left with is a golden oil that you can use in handmade beauty products.
Ingredients for Homemade Lotion
We can make this recipe as soon as the Chamomile oil is finished. I have in front of me three different groups of ingredients. The first one is distilled water. The basis of most creams and lotions is water, but you do need to use distilled. In the States, it’s very easy to come across this in supermarkets; it’s a little bit more difficult here in Britain, and the place that I’d recommend you get it is through your local auto dealer because you do need to use distilled water to top up batteries. I know it’s absolutely bizarre to people in the United States, but distilled water is not a thing here. But it’s important to use distilled water because it’s free from minerals, it’s free from bacteria and pathogens and physical impurities, and this is the best stuff for lotions and creams and soap. It is not the same as deionized water either.
Now the second group is your oil phase ingredients, and they’re going to go into their own jar. We have the Chamomile oil here, and we also have emulsifying wax. There’s lots of different types of waxes out there; this is emulsifying wax NF, so it’s a National Formulary, pretty standard stuff, easy to use. It’s vegetable-based. You do have to keep an eye on ingredients for your emulsifying wax, but this stuff is really easy to use.
The last ingredient is a preservative, and I use Geogard Ultra, but you can use another broad-spectrum preservative. The reason that I use a preservative is that without it, this lotion will last less than a week in the refrigerator, and on the shelf or on the counter somewhere, it will last just a few days before mold and bacteria and all kinds of nasty things start growing. But with the preservative, it will last up to 18 months, and this is a type that is suitable for organic formulas. There’s loads out there, though, and so definitely do your research because the usage rates and the temperatures will differ.
Measuring and Preparing the Phases
I’m just going to measure all of these out. I have the full recipe in grams and ounces, but I’ve made it really easy, and so we’re just going to be using volume measurements because I know that a lot of people don’t have kitchen scales. What you will definitely need as far as specialist equipment for this recipe is a digital thermometer. Let’s measure these out. For the water content, it’s going to be six tablespoons of distilled water. The next jar is going to be our oil phase ingredients, and so we’re going to put in a full tablespoon of the emulsifying wax. You can use less, though; with a full tablespoon, you’ll get quite a thick cream, but if you use a little bit less, say one or two teaspoons, you’ll get a thinner lotion. It will still emulsify and be perfectly fine, but it will be a thinner lotion. And we’re going to put in two tablespoons of the oil, and then we can set those aside. So we have now our oil phase and our water phase, and as you can see, the emulsifying wax is solid, so we need to heat that up and melt it gently. I’m going to take these over to the stove and start warming them up in a double boiler.
Heating and Emulsifying the Lotion
I use a really simple setup to heat my water and oil phase, and it’s just a pan filled with water, and then the pint glasses are just set inside. You can see it’s starting to come up to a boil, and this will help to redistribute the heat so it isn’t so direct. I will leave them in the water until they get to the right temperature, which is about 75 degrees Celsius. The oil and the water phase are now warm enough, so it needs to be at least 75 Celsius, but a little bit warmer is perfectly fine. The next step is just pouring the water phase into the oil phase, and you’ll see an immediate reaction. I tend to pour the water phase into the oil phase because that way you get every last drop of oil; water pours a lot easier than the oil, which would coat the inside of the jar.
So now it’s just like milk; it’s white and creamy and very, very liquidy. We’re just going to stir for a couple of minutes and then let it sit for five minutes and let it cool. This type of emulsifying wax will leave a bit of a skin on the top of the lotion after five minutes, so you want to stir that back down in. After that, return every 10 to 20 minutes, give it another stir, and you want to continue doing that until it thickens up nicely and it gets down to at least 45 degrees Celsius. At that point, you can pour in the preservative, which I’ve mixed with just about a teaspoon of hot water. You could put a few drops of essential oil in there as well, although this already smells like Chamomile, so that is completely optional. You can also then spoon the lotion into your jar or container that you want to store it in and then let it sit. It can take at least four to five hours, if not a couple days, to get to the final consistency. If you use the full tablespoon of emulsifying wax, this will become a really rich cream.
The Value of Homegrown Skincare
Don’t you think it’s incredible how you can grow something as simple as Chamomile and then transform it into skincare that would be quite expensive in the shop? Altogether, it’s really just pennies that you would pay for the ingredients for this recipe, plus the enjoyment of growing your own Chamomile as well. Now this is the premise of my book, “A Woman’s Garden: Grow Beautiful Plants, Make Useful Things.” The entire idea is growing plants that you can use in things like skincare and also in medicine, dyeing fibers, and all different sorts of useful plants. I will be featuring some female gardeners in the book as well, some really inspiring people. If you’re interested in skincare and you enjoyed this recipe, there’ll be plenty more ideas in the lead-up to its release.
I hope you enjoyed learning how to make your own Chamomile lotion. If you have any questions, you can find the full recipe and printable instructions. Thanks so much, and I’ll see you next time for another idea here on Lovely Greens. Bye for now.