DIY Rose Skin Cream Recipe (with rosehip seed oil)
Introduction to Golden Rose Skin Cream
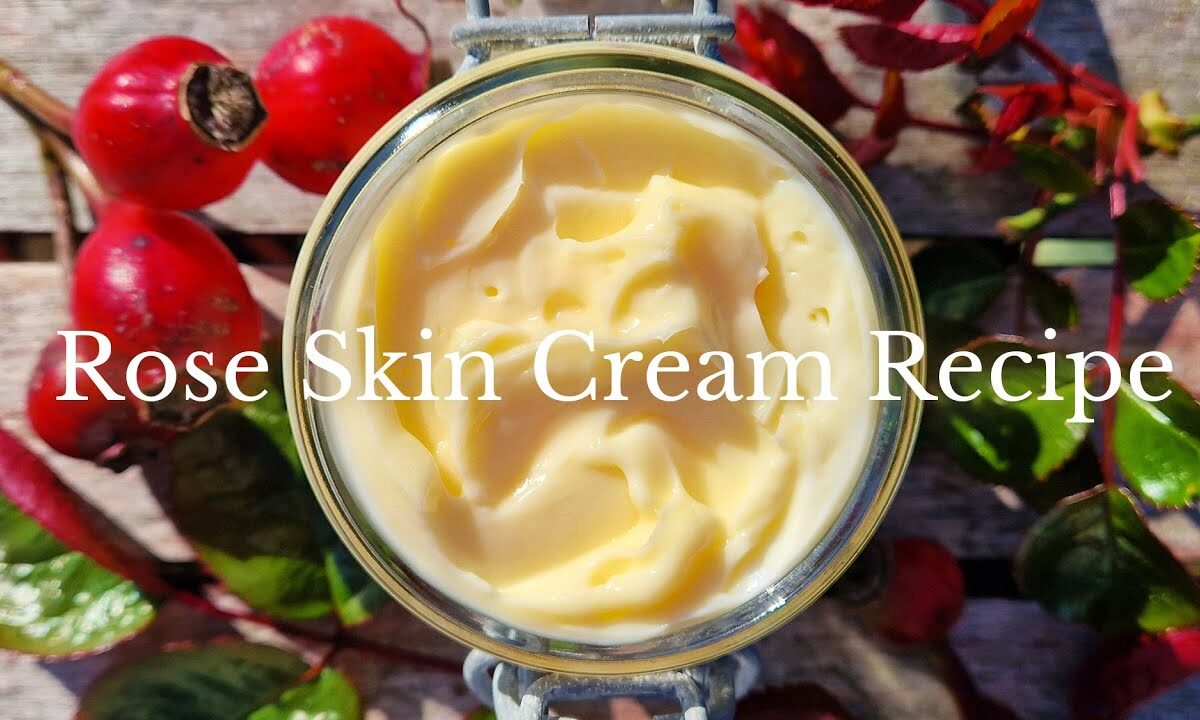
Today, we are coming inside from the garden, and I’m going to show you how to make Golden Rose skin cream. This is the skin cream that I use practically every day. It’s a true skin cream recipe, so it’s made up of three phases. We’ll go through the ingredients and everything in just a sec. It makes about half a pint, and if you make this yourself, you will save an absolute fortune. It’s also great for mature skin and for those of us who spend a lot of time outdoors and have a little bit of sun damage.
This is the skin cream that I’m going to show you how to make. It’s not difficult at all, and what you end up with is a really thick cream that is quite light on your skin. I’m in my 40s, but I have relatively normal to oily skin, although the ingredients can be customized for if you have a little bit drier skin as well. You scoop it out, and I’ll show you on my skin just how nice it is. So, you put some on your hand like that, and it absorbs really, really easily. On your skin as well, it rubs in so nice. This is a really high-quality skin cream that you can make yourself for a fraction of the cost of anything that you can buy over the counter. It is super easy, relatively inexpensive to make, and you can also use some ingredients from your garden if you wanted to.
Ingredients and Phases
The ingredients for this recipe are natural or certified for organic skin care. In the case of the rose water, you could even make that yourself from the roses growing in your garden. The others can be sourced from a skincare ingredient supplier. The ingredients are divided into three main phases, and they include the oil phase, the water phase, and the cooling phase. Each of these is measured separately, and they’re mixed together at a particular time.
The Oil Phase
The oil phase includes sweet almond oil, coco-caprylate, which is a plant-based emollient that feels very silky but it’s not oily, and the emulsifier, which is Olivem 1000. You could use a different emulsifier, but beeswax will not work for this recipe.
The Water Phase
The water phase includes rose hydrosol or rose water and vegetable glycerin, which adds moisture and conditioning.
The Cooling Phase
The cooling phase is a smaller phase, and it’s made up of ingredients that are affected by heat, so we mix them in after everything has cooled down. They include the rosehip oil and the preservative. I’m using Geogard Ultra, and I’m mixing it first in a little bit of distilled water. You would also add any of the essential oils into the cooling phase. These are optional, but I’m using neroli and rose geranium.
Preparation and Mixing
Next, we’ll heat the oil and water phases over indirect heat until the oils are fully melted. I use a simple double boiler made with a pan filled with hot water with a pot holder at the bottom. We’ll want to heat both of these until the oil phase is melted and both of them are 65°C or higher, so that’s 150°F. At this point, you pour the water phase into the oil phase, then stir and pulse with a milk frother or a spoon until it’s emulsified. Mix really well, though, for that first couple of minutes, and then keep coming back to mix and stir every minute or so until the lotion has cooled to 40°C or 104°F. It should be really lovely and thick now, and it is time to stir in the cool-down phase. Mix it in really well, and the skin cream will take on that gorgeous golden color from the rosehip oil.
Testing the pH Level
It’s almost done now with just one very important last step: we’ve got to test the skin cream’s pH. Testing this is important because if it’s not in the right range, the lotion can feel irritating on your skin, and if it’s too high or low, the preservative might not work. So, the way you do this is measure 2 grams of lotion and 18 grams of distilled water in a small container. Mix it together and then use pH strips or a pH reader to take a reading. The skin cream should ideally fall into pH 5 to 5.5, but if it’s below 4.5 or above 6, it needs adjusting. Mine was quite low. This recipe does tend to be a little bit acidic to begin with, so I mixed a quarter teaspoon of baking soda, also called bicarbonate of soda, with one teaspoon of distilled water, and then I mixed in a little bit of this at a time until I got the pH up to a good level.
Storage and Usage
And that’s it! It’s made, it’s ready to use, and it has a shelf life of about 18 months if you use the preservative that I do. But once you start using it, try to use it up within six months. To keep your fingers and microbes out of it, use a little spatula like this. This is a little ceramic skincare spatula, and you can scoop a little bit up at a time, rub it into your skin, wash this, and then use it again the next day or the next use. If you enjoyed this skincare recipe, I have tons more and soap recipes. Explore those.