Goat Milk Soap Recipe (Easy No-Fail Method)
Introduction to Goat’s Milk Soap
Goat’s milk soap is one of the most luxurious, creamy, and sensitive recipes that you can make. Unfortunately, it’s also a little bit challenging because milk, like other sugars, can scorch during the soap making process. So today I’m going to show you how to make a very simple goat’s milk soap that will not scorch and you don’t have to even freeze the goat milk like you’ll see in other recipes.
This recipe comes from a natural soap making for beginners course. It is a course that gears the absolute beginner up to making cold processed soap at home in your kitchen. It covers everything from natural soap ingredients to the equipment that you’ll need, setting up your soap making station. It takes you through step by step how to make very simple soap recipes using a wide array of different types of ingredients.
The Benefits of Goat’s Milk
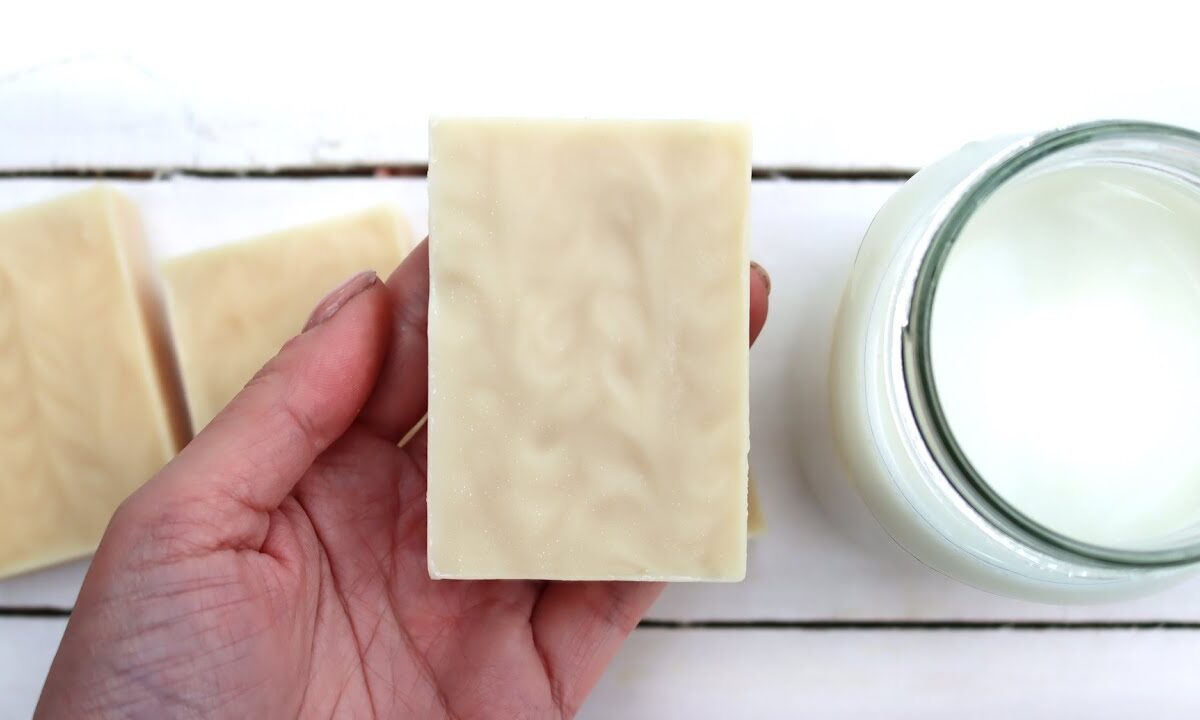
These beautiful and simple bars of soap are made with goat’s milk. Goat’s milk is an ingredient that you can use to replace some or all of the water content in soap recipes. It creates bars that are very gentle, sensitive, and have creamy lather. A lot of people swear by goat’s milk, and it’s one of the most popular additives that you can put into soap recipes. If you have a source of local goat’s milk or you have some on your own homestead or farm, there is more reason to use it.
Preventing Scorching
Goat’s milk and other dairy milks are challenging to use in soap recipes because they have a tendency to scorch. But this recipe is going to show you how to use goat’s milk, and you can apply this to other dairy milk recipes as well without having your recipes scorch. They’ll turn out light-colored, beautiful, and smell lovely.
Ingredients for Simple Goat’s Milk Soap
The ingredients for this simple goat’s milk soap recipe are very simple. We have the exact amount of coconut oil and shea butter as we have in the past two recipes. The same amount of castor oil and olive oil, the same amount of lye (sodium hydroxide), but we do have a difference in the water amount. There’s just half the amount of water that we have been using and the other half is made up with the goat’s milk. There are also two essential oils that we’re using in this recipe for a lovely floral but also citrusy scent and they are May Chang and lavender essential oils.
Preparing the Lye Solution
My gloves are on. I have the distilled water and the sodium hydroxide ready to go. I need to put my goggles on to protect my eyes. Now, we are going to be making the lye solution just like we have been, but there’s a difference this time in that there’s a lot less distilled water. In fact, there’s 63 g of sodium hydroxide. The lye here in the ramekin, there’s 63 g of distilled water. This is the bare minimum amount of water that you can use to make a lye solution—a 50/50 match when it comes to weights.
So, in we go. We’re just going to mix it the same way that we have been, but we’re going to be careful this time because this is quite a strong lye solution. The fumes will be a little bit stronger and it’ll be a stronger solution. So, do be careful. It has a lot more caustic action per droplet of it. Give it a good stir. When I’m stirring, I’m feeling for any of the lye crystals at the bottom and giving them a good stir. We don’t want a hard crust forming at the bottom. That’s a real worry if you don’t stir it together really well.
Another thing that I should point out is that the jugs that I’m using are clear. So, I can look from the side here and I can see that the lye is all dissolved. If you’re working with jugs that are not transparent, then you might not be able to tell if there’s still some lye at the bottom. Okay, that’s dissolved. Time to start cooling.
Melting the Solid Oils
This next step will be getting familiar now. We’re putting the heat source on to low. So, it’s on number two. And we’re going to melt the solid oils, the coconut oil and the shea butter. This should feel really familiar now. Just keep moving the oils around in the pan until they’re just melted. The coconut oil and the shea butter are completely melted.
Adding Liquid Oils and Goat’s Milk
The next step is one we’ve done before and it’s adding in the liquid oils—the oils that are liquid at room temperature. I’m stirring them together so that the castor oil gets mixed in with the olive oil and is easier to move. And then I’m going to pour it against my spatula just to reduce the chance of air bubbles forming in my soap bars later. Give it a good scrape out.
The next ingredient is a little different. We’re going to be adding the goat’s milk. I’m mixing the oils together. And now I’m just going to pour the liquid milk right into the pan. The reason that I’m doing this is that it will help to cool down the oils a little bit. But also, if you add milk to soap when it’s really hot, then it has a chance or an opportunity to scorch, meaning it will turn yellow to brown and it might leave an unpleasant scent in your bars. But by putting it in right now, I’m allowing the milk to cool alongside the oils.
Temperature Control
It’s now 103 degrees, so it’s just about ready to make soap. And when I add the lye solution that’s also cooled to that temperature, then there’s not going to be any scorching action. It’s super easy. You’ll see other goat’s milk soap recipes that have you freeze the milk and do all kinds of things and you might not succeed with those recipes because they can be complicated and not always give the result that you want. But with this one, you will.
Let’s check the temperature of the lye solution. 109 and 100. I’m just going to cool the lye solution just a little bit more. With this recipe in particular, you want it to be 100° or lower. You don’t want it any warmer because that warmth will encourage scorching with that milk. So, I’m going to put this right back into the water to cool a little bit more.
While the lye solution is cooling, let’s chat about all of those little droplets that you see there. You might see all of the goat’s milk in there in small droplets and be a bit worried. Don’t be worried about that at all. It’s just because oil and water don’t mix together easily. And at this stage, they’re separating. So, the goat’s milk is separating into little droplets. Don’t worry because as soon as we add the lye solution and start mixing, it’s going to emulsify together.
Let’s take another reading. So, the oils and the milk are now 98. And the lye solution, let’s get a stir. It’s 97. That’s perfect. Don’t get hung up over getting them absolutely perfect right on the dot to 100. Remember, they can be within 10° of one another. These two containers of ingredients. Just try to keep this recipe 100° or a little bit less than that.
Mixing the Soap
Okay. So, we’re going to now pour the lye solution through the sieve and against that spatula. And we have the immersion blender ready to go as well. Pop that in there for safety. And then give this a bit of a stir first. It goes a slightly creamy color, but that lightens out once the soap is poured.
Okay, let’s put the spatula here in the jug. And now it’s time for the immersion blender. So, in at an angle, tap to burp and then hold it down to the bottom of the pan. Pulse. And then when it’s turned off, you can stir and stir in a figure of eight. Just gently. Bring it back. Press it against the bottom of the pan and pulse a couple more times. And then stir. And again, we’re looking for that really light trace, light to medium trace. It’s your choice. And you should just see a drizzle on the surface of the soap when you look closely. Let’s have a look. So, if I lift my immersion blender out. Oh, yes.
Adding Essential Oils for Scent
Now that we have a really nice medium trace going on, it’s time to put in our essential oils. So, it’s going to be one teaspoon of May Chang. So, I’ll put a teaspoon in. Stir it in together. Oh, that smells incredible. Now, May Chang is one of the few citrus essential oils that will last in handmade soap. A lot of them, so just the bog standard lemon or tangerine or orange essential oils, they fade after even just a couple of days in soap recipes. It can be very disappointing. But May Chang doesn’t do that. And now we’re going to put in two teaspoons of lavender essential oil. Stir that in as well. This is a really gorgeous and simple blend and I think that you’ll enjoy it. That citrus and lavender just go together so well.
Pouring and Texturing the Soap
And now we’re going to pour it into the molds. With this recipe, we’re going to finish off the tops with a very simple design or a pattern texture rather. You can, of course, decorate your soaps however you’d like, but I think something as lovely and simple and beautiful as this goat’s milk soap recipe, it really doesn’t need much to make it stand out. And if you are marketing this towards your customers as a really sensitive, gentle soap, just keeping it simple in its design can often share that message of it being a simple, gentle soap as well.
Okay, that looks good. Let’s give it a bit of a shake. Settle that soap into all of the corners. And we’re just going to wait a minute or so just for the soap to firm up a little bit more before we add the texture. It’s been about a minute and I’ve just put the skewer in. I can see that it’s holding form. So, it’s time to put in a little bit of a pattern. Now, this is just an ordinary bamboo skewer. And all I’m going to do is make tiny little circles one direction and then reverse them and come back.